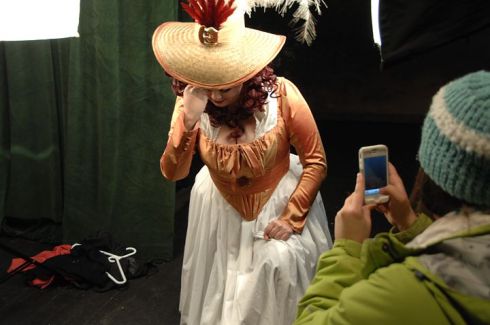
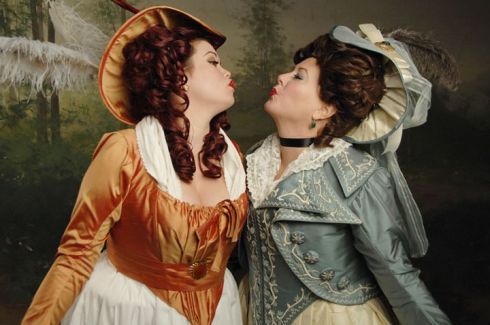
Tag Archives: der schauspieldirektor

Mozart Reimagined Launch Party

15 Sep

Mozart Reimagined, my beautiful photo book that has taken ten years to complete, is now available for purchase on Kickstarter! For 28 days you will be able to get the book for its lowest price!

https://www.kickstarter.com/projects/948510266/mozart-reimagined-photography-book-by-tyson-vick

On Sunday we had a launch party for the book! Many of the people who worked on the book came with their friends and family!

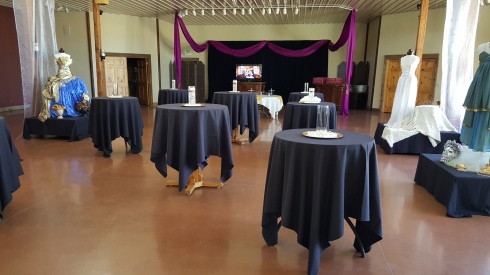
Setting up the room.

Setting up the room.

My friend Trevor came to help me set up some costumes and props that I built which were used in the book.

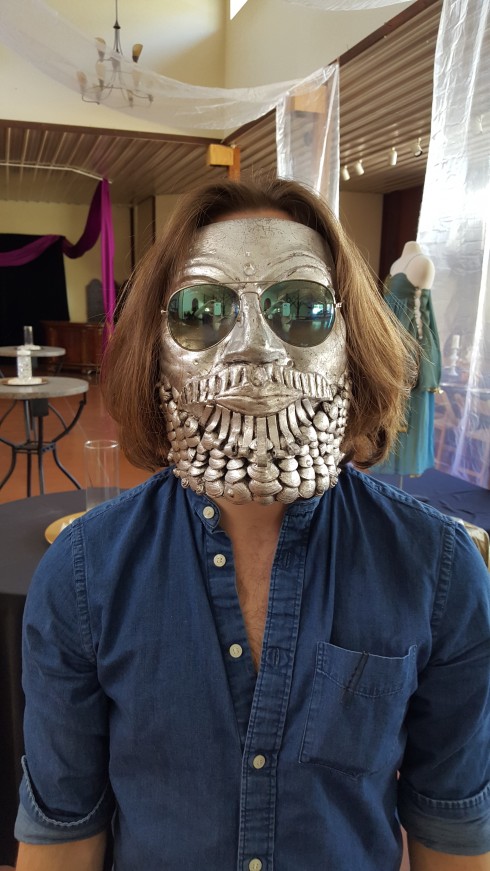
Trevor helps me set up by wearing Neptune's mask from Idomeneo.

Trevor helps me set up by wearing Neptune’s mask from Idomeneo.


The party was held at the Rockin’ TJ Ranch, a large event center that usually puts on weddings!

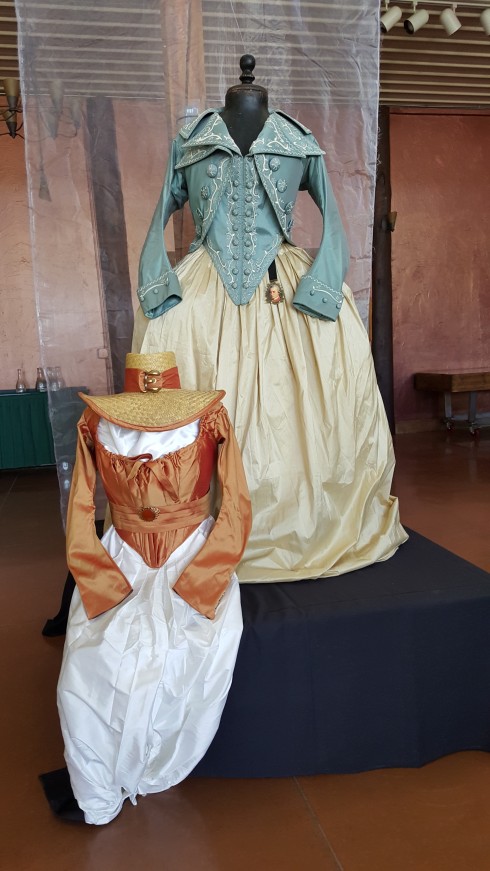
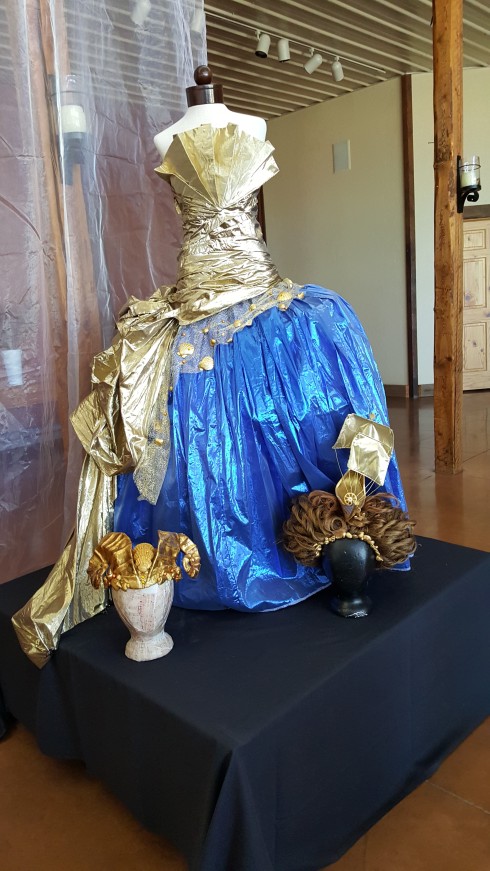
My Der Schauspieldirektor costumes were on display.

My Der Schauspieldirektor costumes were on display.

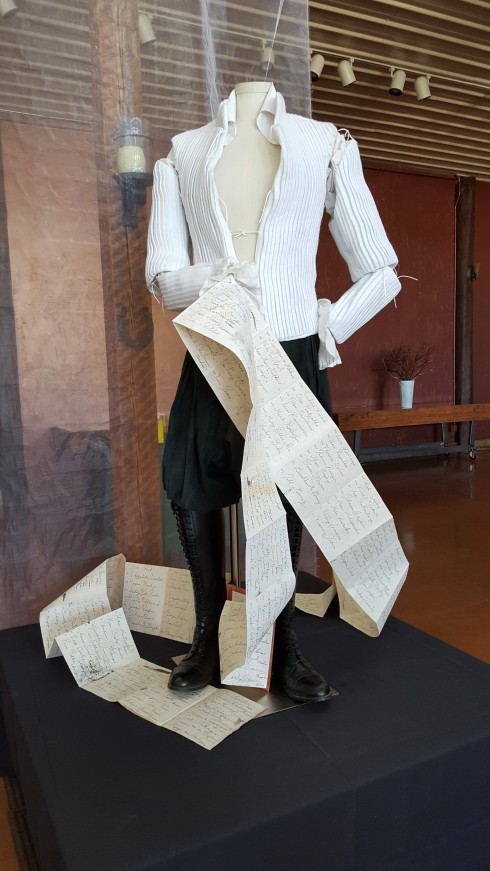
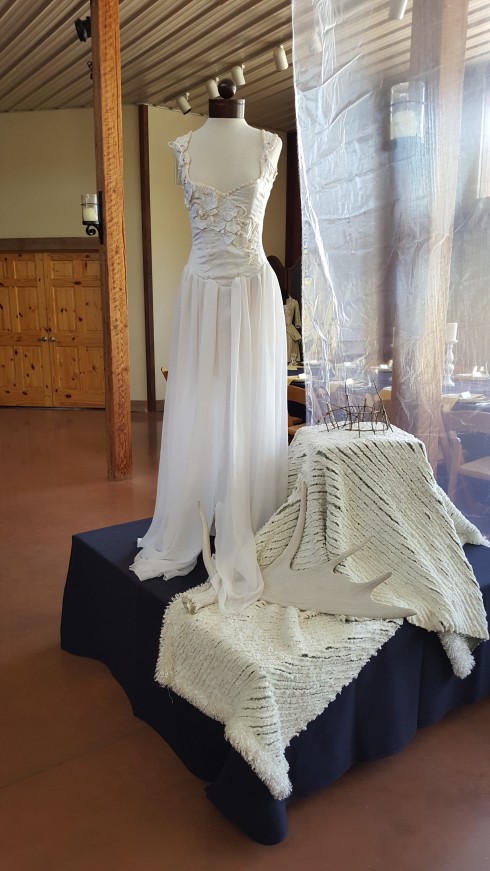
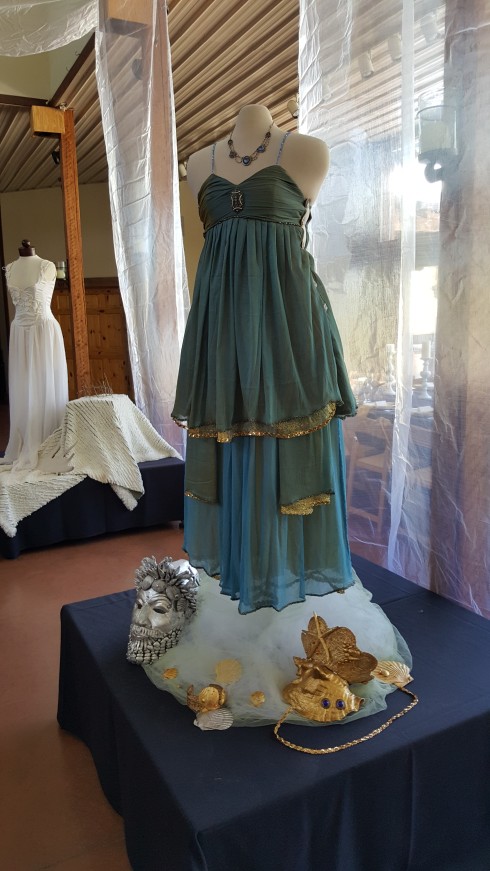
Many of my costumes from the book were available to view.

My Don Giovanni costume from the cover of the book was on display.

My Don Giovanni costume from the cover of the book was on display.

It was a bit like museum displays!

My Amphitrite gown from my Idomeneo shoot.

My Amphitrite gown from my Idomeneo shoot.

The costumes each had their own pedestal for guests to walk around.

Tamiri's gown from Il Re Pastore.

Tamiri’s gown from Il Re Pastore.

A few props were scattered at the feet of the mannequins.

Ilia's costume from Idomeneo.

Ilia’s costume from Idomeneo.

We had large TVs displaying the photos at the back of the room.

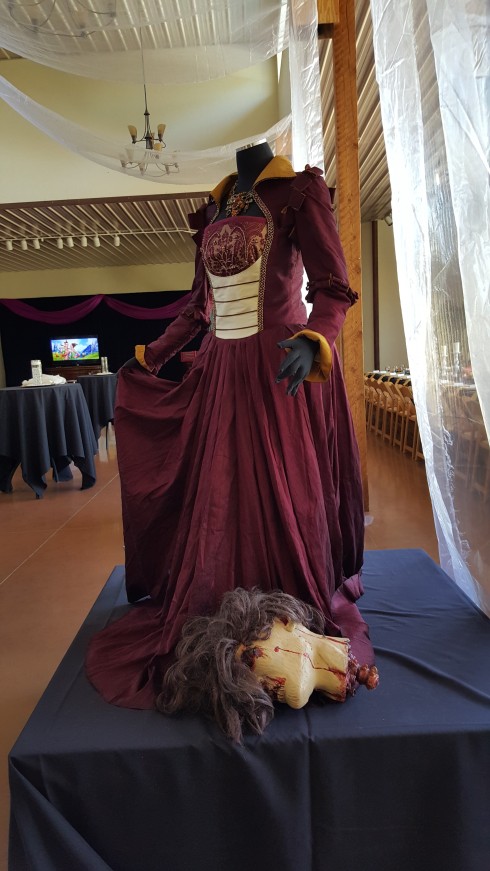
Judith's costume with a severed head on display.

Judith’s costume with a severed head on display.


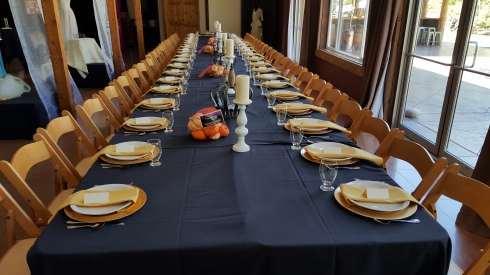
The event planner gave us a full 8 course Rococo feast, the style that would have been put on in Mozart’s day. There was a meat course from every type of game; beef, chicken, fish, ham.

We put on a feast for 55 people.

We put on a feast for 55 people.

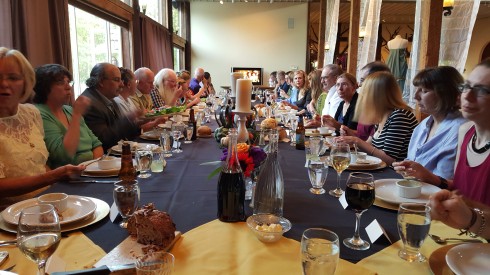
Many of the guests were overwhelmed by the sheer amount of food they were being given! Lol.

Mozart Reimagined guests having an 8 course meal.

Mozart Reimagined guests having an 8 course meal.

At the end of the night, we looked at the books together and I signed them.

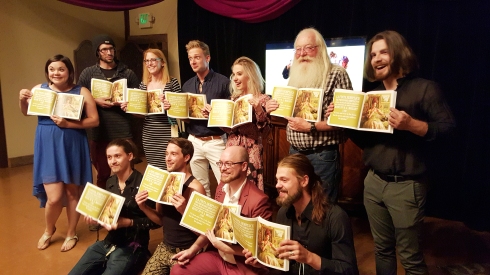
Here are all the models holding the book open to one single page for our friend who couldn't make it!

Here are all the models holding the book open to one single page for our friend who couldn’t make it!


Our book is launched on Kickstarter, but there are only 28 days to get your copy! Help us bring this book to publication!

Mozart Reimagined Preorders Now Live on Kickstarter!

14 Sep

Hello friends! After ten years, Mozart Reimagined is now available for Pre-Order on Kickstarter!

You can watch some preview videos below, or just click on over to Kickstarter to learn more!

I hope you will all enjoy this labor of love!

If you feel passionately about my project, I would really appreciate it if you would share the Kickstarter link ( https://www.kickstarter.com/projects/948510266/mozart-reimagined-photography-book-by-tyson-vick )on your social media sites (Twitter, Facebook, Instagram, Pinterest, Tumblr, etc.!) You can use the hashtags #tysonvickphotography and #mozartreimagined if you like to tag your posts. It would help out immensely. Thank you all for your support over the years! I’m excited to finally be producing the book!

Mozart Reimagined – Der Schauspieldirektor

24 Aug

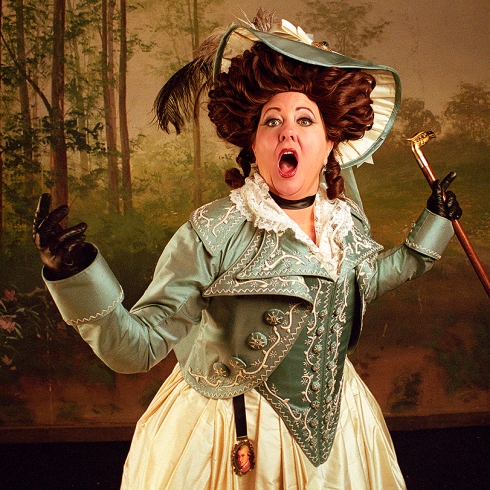
Mozart Reimagined by Tyson Vick will feature photos illustrating Mozart’s “Der Schauspieldirektor”, a play about staging a play.

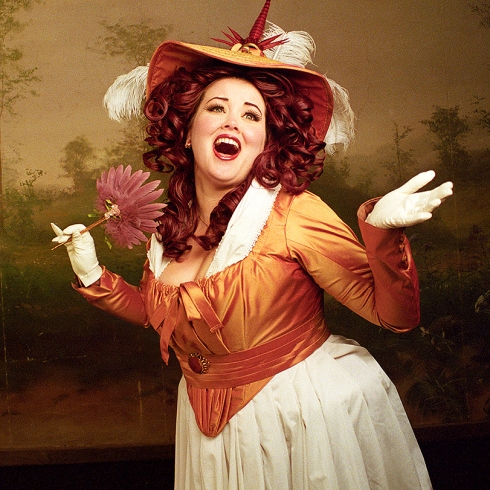
Mozart Reimagined features three photos by Tyson Vick illustrating the opera Der Schauspieldirektor

Mozart Reimagined features three photos by Tyson Vick illustrating the opera Der Schauspieldirektor

Mozart Reimagined showcases nearly 100 photos that bring to life Mozart’s operas through photography. I spent a decade building props and sets, meeting models and photographing across the country to showcase what Mozart’s music has meant to me. The book also features essays written about each opera from my own unique perspective. The book humorously points out plot-holes, gives insight into past and present performances, recites a little bit of History and overflows with my own passion for the music of Mozart.

Here’s an excerpt from the book which accompanies the Der Schauspieldirektor pictures:

“Mozart’s Der Schauspieldirektor or The Impresario is a one act comedy about a theater company. It was commissioned by the Emperor for some stately visit of foreign dignitaries, intended to show off the relative values of German and Italian operetta, and to decide which was preferred (Mozart wrote the German one, and Salieri wrote the Italian one). Both plays were performed at opposite ends of the same vast hallway, the audience turning their chairs at mid-point to watch the other. It is said that the Emperor himself came up with the plot of Der Schauspieldirektor, and the play actually comes across a bit like a bureaucratically devised entertainment, in that it introduces many different ideas and talents without ever really saying anything. Mozart only wrote four songs for the play, all of which appear towards the end, and showcase the talents of two sopranos who are vying for the position of Prima Donna in the company. ”

Mozart Reimagined features three photos by Tyson Vick illustrating the opera Der Schauspieldirektor

Mozart Reimagined features three photos by Tyson Vick illustrating the opera Der Schauspieldirektor

The photos were a hilarious family affair. Mother modeled with one daughter while the other daugheter, Lizzie, did the hair and make-up. You can see some behind-the-scenes stuff here.

The photos from this set are some of the most well documented and popular on this blog:

  1. My first post follows the making of the corsets for both ladies.
  2. The second post takes a look at my embroidery process, and brief reviews of some of the movies I viewed while sewing.
  3. The third post shows how I put together my Jacket and Gilet.
  4. My fourth post shows the inspiration and final pigeon breasted drawstring-front jacket.
  5. The fifth post talks about the hats I created, and features a step-by-step construction process.

I’m going to be giving you a preview of photos from every chapter of Mozart Reimagined over the next month, and then it will be time for pre-orders. I will be launching pre-orders on Kickstarter on September 14th, 2015! Until then, I wanted to give you a glimpse of some of the photos and excerpts from the book so you can see what’s in store! Subscribe to the blog for every update, or check back on September 14th for the launch of the book.

From Concept to Completion for Tyson Vick’s Mozart Photography Project!

19 Jan

Well, I’ve Run Out of Costumes to show you. Over the past three months I have shared nearly every costume I created for my photographic illustrations of Mozart’s Operas. There are three or four pieces hiding in the closet somewhere that I’d like to dig out and photograph for you guys, but then I will have showed you everything!

While this project is getting ready to be compiled and put together in a book, I wanted to show you how it all began!

One day I was walking home from the library after looking for some Mozart Operas to get through the inter-library loan, and I thought, “Hmmm. Maybe I could illustrate my favorite parts of these operas through photography!”

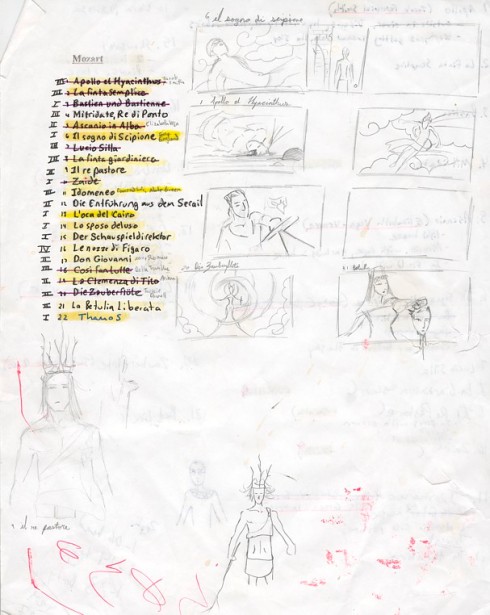
When I got home I drew some sketches on my opera list, which you can see below!

The first thing ever put on paper for my Mozart Photography Project.

The first thing ever put on paper for my Mozart Photography Project.

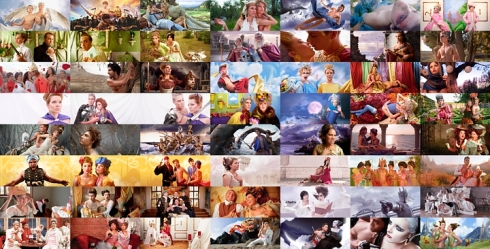
And after ten years, that list turned into this:

Half of the finished photographs all put together in a collage.

Half of the finished photographs all put together in a collage.

In the image above you can see a little over half of all of the photos I took to illustrate the operas of Mozart! You’ll have to squint, but you can even make out that two of the initial sketches seen in the top sketch image were brought to life and can be seen in the final grid of photographs– lol, it’s a lot of work but on the top image, far right sketch row, second box down (guy blowing away in wind) is the design for row 1 column 5 in the photo set. In the sketch far right, bottom, image of lady with severed head can be seen in the photos row three column 3.

Isn’t that fun to see an idea come to fruition?

Be sure to subscribe to this blog, because now you will start getting all of the information on the books progress! You’ll get to see some of the final photos, and the beautiful costumes, hair and make-up — both Historical and Fantastical! There are also a few costumes left to share with you once I get them photographed! These are exciting times!


18th Century Hair & Wig Styling — The Book

6 Jan

Hello, everybody! There’s some exciting news! Kendra Van Cleave, author of the Historical Demode Blog, is writing a book on 18th Century Hair & Wig Styling!

She is currently crowdfunding on Indiegogo in order to publish the book! Crowdfunding is where you ask your fans and general public to support something you are making. In this case it is a historical hair styling book.

Kendra Van Cleave’s blog posts about wigs have been instrumental to my own wig styling for my Mozart Project! I have used her blog for reference on many wigs, and I’d like to share some of the creations I’ve produced through her thorough step-by-step process (obviously there was a little creativity on my part as well, but her book will feature numerous different styles, so you won’t need to be too adventuresome!)

Another view of my finished hat from the front.

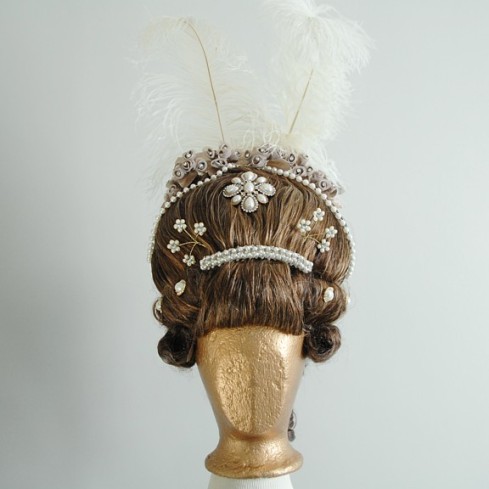
I used this wig in my Der Schauspieldirektor photos.

One of the most elaborate wigs I’ve made was based on Demode’s Pouf tutorial, but I twisted the strands when pinning them up, instead of leaving them straight!

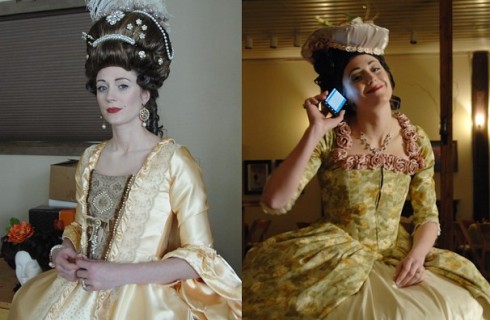
Gina in Costume as Madame Silberklang.

Gina in Costume as Madame Silberklang.

I used the tutorial on my wig for Countess-as-Susanna as well!

The Final Wig for Countess/Susanna

Here is the finished wig with the hat in place. (I added some more ribbon flowers at the back after I took this.)

You can also see the model wearing Countess-as-Countess in the image below.

Laura as the Countess, and the Countess disguised as Susanna, talking on Ye Olde Celle Phone

Laura as the Countess, and the Countess disguised as Susanna, talking on Ye Olde Celle Phone

You can see my high pouf below. This wig was styled on top of a wig that was already shaped this way, but the process was mostly the same.

The Countess wig

This is the Countess wig.

I created these wonderful wigs with the help of Kendra Van Cleave, and so I strongly advocate supporting her book! Please check out her indiegogo campaign here!


One Delightful Day – December 27th

30 Dec

On December 27th I took my Der Schauspieldirektor photos.

Some of my close friends came to do the shoot with me. Lizzie, who has worked on numerous Mozart shoots, helped find locations and did the make-up. Her mother Gina and her Sister Jenny, as well as Jenny’s King Charles Spaniel, Burly,  modeled.

Gina in Costume as Madame Silberklang.

Jenny in Costume as Madame Herz.

The Historic Philipsburg Opera House Theater which features backdrops from the 1880s, kindly allowed us to shoot inside their building. We used the light forest back-drop for our shoot.

Setting up Inside the Philipsburg Opera House Theater. Original backdrop from the 1880s created by artist Edgar Paxson.

This winter, it was colder in the theater than outside!

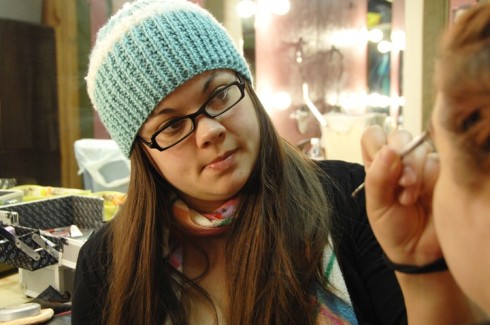
Lizzie does make-up on her sister, Jenny.

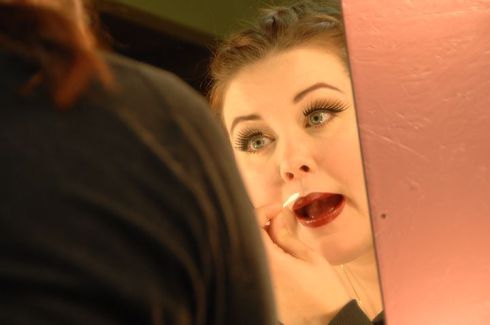
Jenny touches up her make-up.

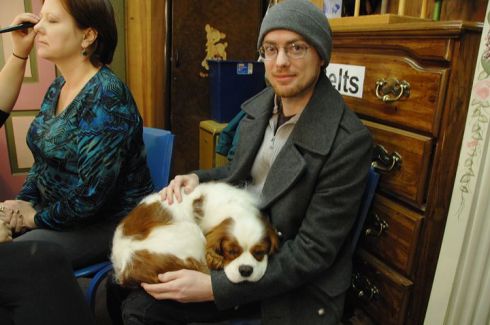
Me and Burly.

Lizzie does make-up on her mother, Gina.

Ha-cha!

Burly is terrified of Opera.

Rival Singers.

Previous Posts About this Shoot:

  1. My first post follows the making of the corsets for both ladies.
  2. The second post takes a look at my embroidery process, and brief reviews of some of the movies I viewed while sewing.
  3. The third post shows how I put together my Jacket and Gilet.
  4. My fourth post shows the inspiration and final pigeon breasted drawstring-front jacket.
  5. The fifth post talks about the hats I created, and features a step-by-step construction process.

Der Schauspieldirektor – Costume Diary, Part 5 (Hats!)

23 Dec

My costumes are now complete for my upcoming Der Schauspieldirektor photo shoot. I have created all the costumes for this shoot myself. Previous Posts in this Series:

  1. My first post follows the making of the corsets for both ladies.
  2. The second post takes a look at my embroidery process, and brief reviews of some of the movies I viewed while sewing.
  3. The third post shows how I put together my Jacket and Gilet.
  4. My fourth post shows the inspiration and final pigeon breasted drawstring-front jacket.

I spent the last week making hats, wigs, accessories and padding. In this post I would like to share with you the hats and wigs I created. For my first hat, I drew mainly upon the image below for inspiration. But I also visited a charming site dedicated to historical hats with many great pictures called Hats From History!
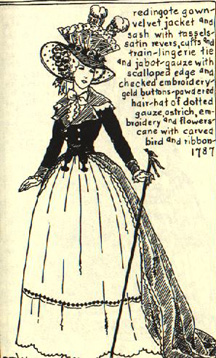
Redingote gown — Velvet jacket and sash with tassels, satin revers, cuffs and train-lingerie tie and jabot-gauze with scalloped edge and checked embroidery. Gold buttons, powdered hair, hat of dotted gauze, ostrich, embroidery and flowers. Cane with carved bird and ribbon 1787.

I took a straw hat that I already owned, added milliner’s wire to the edge and covered the bottom of the brim with silk to match the drawstring bodice. I made a little buckle for the hat and adorned it with feathers.
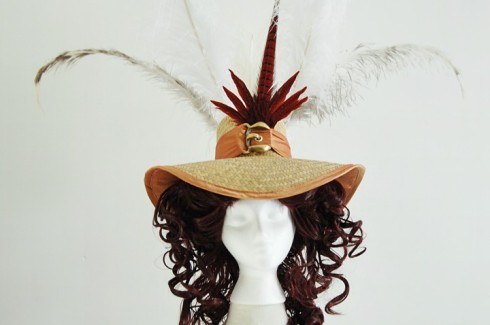
My upcycled straw hat. I used a gardening hat and adorned it in the 1700s style! It is placed on top of a wig I styled myself.

As for my second hat, I documented the process for you! I used Butterick Pattern B4210, the Turn of the Century hat, with no alteration to the structure (Buckram, Milliner’s Wire, size, etc.) However, I did not follow the directions on how to decorate or line the hat.

My silk hat pieces cut out. The top of the hat has already been constructed in this image.

I put together the brim, sewed the wire to the buckram, and then decided the lining side of the hat should be pleated silk! So I took some ivory silk and laid it out on the buckram form to see how much I would need.

I laid out some ivory silk over the buckram brim, and did a rough pleating to see how much silk I would need.

Once I had figured out how much silk I would need, I stitched two lengths of fabric together and pleated them around the brim. I left excess fabric on both edges, because it is easier than making a mistake that can’t be fixed later if you come up short.

I pleated and pined the silk to the buckram form, then stiched the center and outer edges to hold them in place.

Once the pleating was stitched on, I trimmed the edges and cut out the center circle.
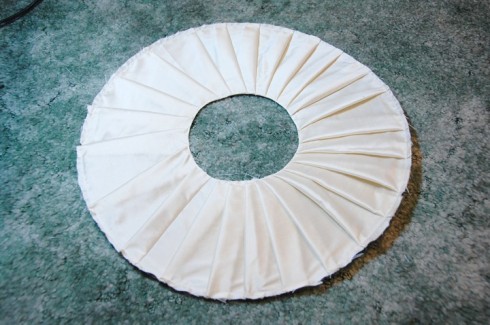
I trimed the outer edge and cut out the center circle.

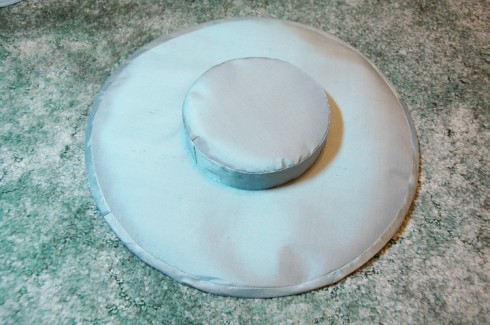
Next, I sewed the blue silk to the opposite side to be the outer brim of the hat. This silk has a fusible interfacing to keep it forever flat.

Next, I sewed the blue silk on the opposite side.

It was then time to add the bias strip to the outer edge. I made the strip out of the same blue silk to match.

I used some bias tape that I made from my silk fabric to bind the edges and cover the milliner’s wire.

Next, I sewed the top of the hat to the brim. When you trim the seam allowances, you can turn them and stitch or glue them down so that there is extra hold inside the brim. The picture below shows the stitched and glued tabs. The pins hold the glued tabs in place.

Next, I sewed the top of the hat to the brim, and glued the notched tabs in place.

I cut a little circle of lining, and used an off-white grosgrain ribbon for the sweat band on the inside.

Finally, I added a lining and a grosgrain ribbon hat band inside the brim.

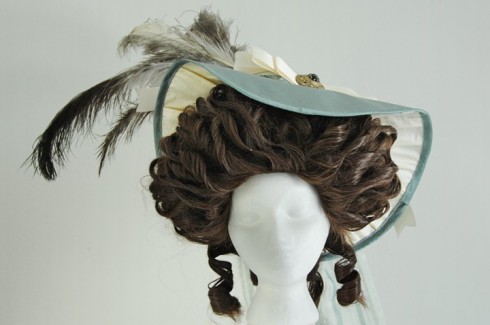
Now the finished form of the hat was complete, and I could choose how to decorate it. The hat all sewn together as seen from the top. No decoration has been added yet. I used ostrich feathers, a ribbon bow and a cameo pin to decorate the hat. However, the main reason I pleated the lining was because it was always my intention to show it off. I shaped the hat over the wig, as you can see in the images below.
My completed hat with feathers, etc. on top of the wig. I also styled the wig myself.

The way the hat is bent allows you to see the top and bottom at the same time! It’s very pretty! I used Epic Cosplay Curly Mid Part Wig, if you are interested.

UPDATE: You can also visit my steampunkmonsters.com hat tutorial if you’d like to learn how to cover an already existing hat form!
Another view of my finished hat from the front.

I also made some accessories. All the dresses from the 1790s have little tabs hanging from the bodices. I knew their history but not what they were called, so I asked Alisa. She used her Google Ninja skills and discovered that they are called Chatalaines, Equipages, Fobs or Macaronis! After looking them up to price them, I quickly discovered that it was necessary to build my own. I found a metal frame at Michael’s (Scrapbooking Section) and used a portrait of Mozart from a little book I got in the mail. I also bought some ribbon clamp ends, which I was so relieved to discover existed! (I always had a suspicion, but had never had my suspicions confirmed until now.) I bought mine from thunderrockalley21 on Etsy. I covered the portrait in a thick varnish to make it look like a painting.

My Mozart Portrait Chatalaine (Equipage, Fob, Macaroni or what you will!)

I used a basic grosgrain ribbon for the attachment as well as a pretty little hook to clip it to the skirt. That’s all for today! Next time you hear from my, my photo shoot will be done! Der Schauspieldirektor, here I come!